For this we don’t have to install any additional applications, but a static IP address is a necessary condition (read more on IP addresses in the general information notes).
1. Enter the main Windows menu by clicking the ‘Start’ button and select ‘Control panel’.
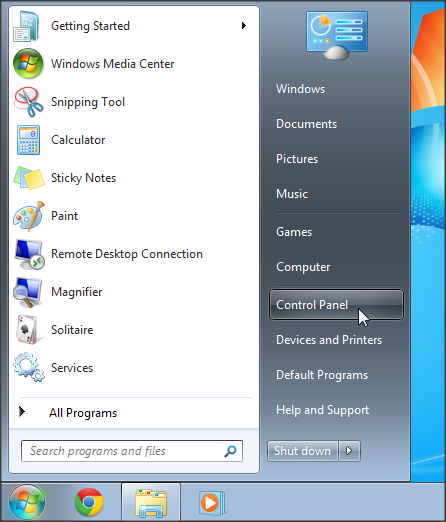
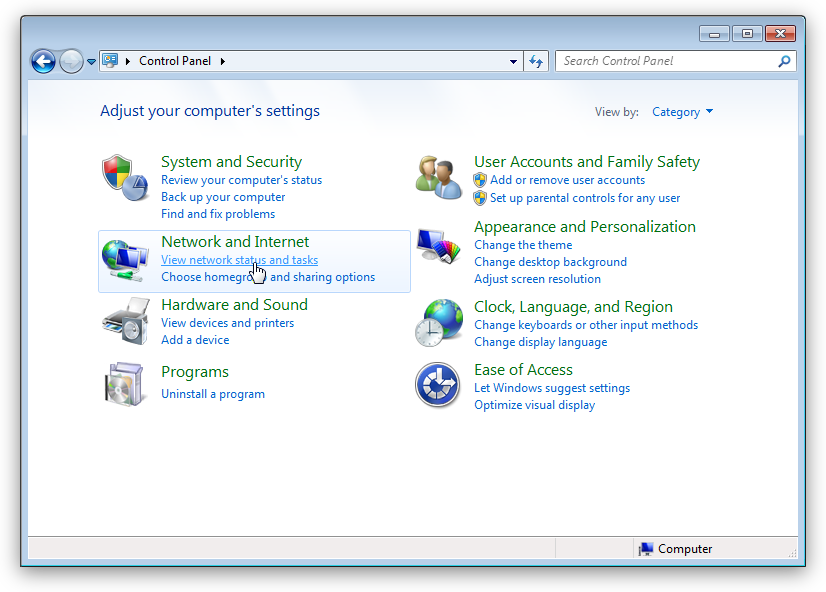
2. Select ‘Network and Internet’.
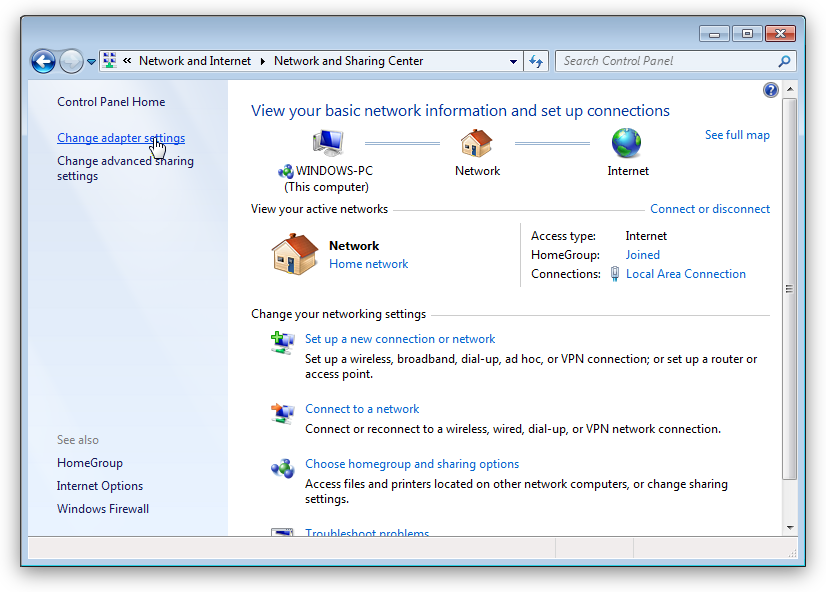
3. Now click the link ‘Change adapter settings’ on the side panel.
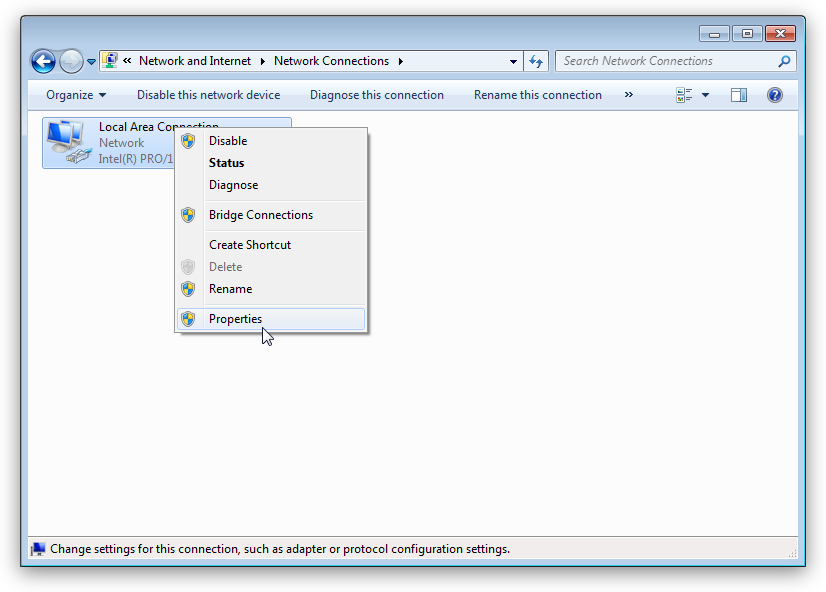
4. In the list that is displayed right-click the network adapter which connects you to the Internet and select ‘Properties’.
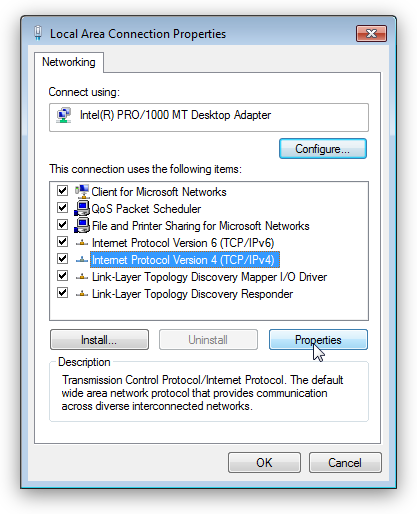
5. You will be shown a list of adapter properties. Select ‘Internet Protocol Version 4 (TCP/IPv4)’ and click the ‘Properties’ button under the list.
6. In the dialog box that is shown to you select ‘Use the following DNS server addresses’. In the line ‘Preferred DNS server’ insert 195.46.39.39. In the line ‘Alternate DNS server’ insert 195.46.39.40.

7. Click the ‘OK’ button.
8. Go to SafeDNS Dashboard > Settings and copy your IP address to the 'Enter an IP-address or DynDNS' box. Then click 'Add'.

After that your PC starts to connect through the SafeDNS server.
Please note that Windows may still be using the site addresses saved in the local cache, so it is recommended to empty it: insert ‘CMD’ in the field ‘Search programs and files’ of the ‘Start’ menu, press the ‘Enter’ button and insert following command
ipconfig /flushdns
Enjoy SafeDNS service!